

There’s nothing more frustrating than spending time on a fresh manicure only to notice chips just a day or two later. Instead of constantly searching for manicures and pedicures to get your nails fixed, let’s tackle the problem head-on. In this guide, we’ll discuss how to fix chipped nails in a pinch and, more importantly, share proven strategies to achieve a long-lasting nail polish finish.
Quick Fixes for Chipped Nails
Don’t panic when you spot that first chip in your polish. There are a few easy at-home fixes to camouflage or repair the damage until you can do a full redo:
- Patch the Chip: If the chipped area is small, you can feather on some polish to fill the gap. Use the same nail color and apply a thin layer just over the chipped spot. Then, gently brush a clear top coat over the patch, overlapping onto the surrounding polish. This blends the edges of the new polish with the old, making the fix less noticeable. Allow it to dry, and your nail will look almost as good as new.
- File or Clip & Seal: For chips at the nail tip, sometimes the easiest fix is to file or trim the nail slightly. Use a nail file to even out the edge where the polish chipped. After reshaping, add a layer of clear top coat, making sure to “cap” the edge to seal it. This prevents further peeling at that spot. Keep in mind this might shorten your nail a bit, but it stops the chip from spreading.
- Conceal with Nail Art: If a patch or trim won’t do, get creative. You can paint a quick design over the chipped area. An accent nail with glitter or a cute pattern can hide the flaw completely. Finish with a clear top coat to set your impromptu nail art.
These at-home manicure tips for quick fixes will hold you over until you can get a professional manicure. For a long-term solution, it’s important to address why chipping happens and how to prevent it. A quick fix is great today, but preventing chips from happening tomorrow is even better.
Healthy Nails, Fewer Chips: Strengthen Your Nails
One major reason polish chips easily is the condition of your natural nails. Brittle nails can cause a manicure to flake or peel sooner. Quickly chipped manicures often come down to weak nails or an improperly done paint job. Start by improving your nail health as part of your regular nail care routine. Well-nourished nails provide a sturdier base for polish, helping color adhere better and resist chipping. Here are some nail-strengthening tips:
- Keep Nails Hydrated: Dry nails are more likely to crack, split, and take polish poorly. Moisturize your nails and cuticles daily with a nourishing cuticle oil or hand cream. This keeps them flexible and less prone to brittleness. Healthy, hydrated nails will bend a bit under pressure instead of immediately breaking or chipping.
- Use Strengthening Treatments: If you have very soft or peeling nails, consider using a nail strengthener or hardener periodically. Products enriched with ingredients such as keratin, calcium, or nylon can strengthen the nail plate. You can apply a clear strengthening polish as a base coat or on its own between manicures to give your nails extra support. Just don’t overuse hardeners, as making nails too hard can also lead to brittleness.
- Watch Your Diet (Consider Supplements): Nails reflect your overall nutrition. Ensure you’re getting enough protein, vitamins, and minerals to support nail growth. Biotin (vitamin B7) in particular is known to improve nail strength over time. Choi and other experts often recommend biotin or vitamin E supplements for those with very weak nails. Always check with a health professional before starting supplements, but know that a healthy diet contributes to stronger nails.
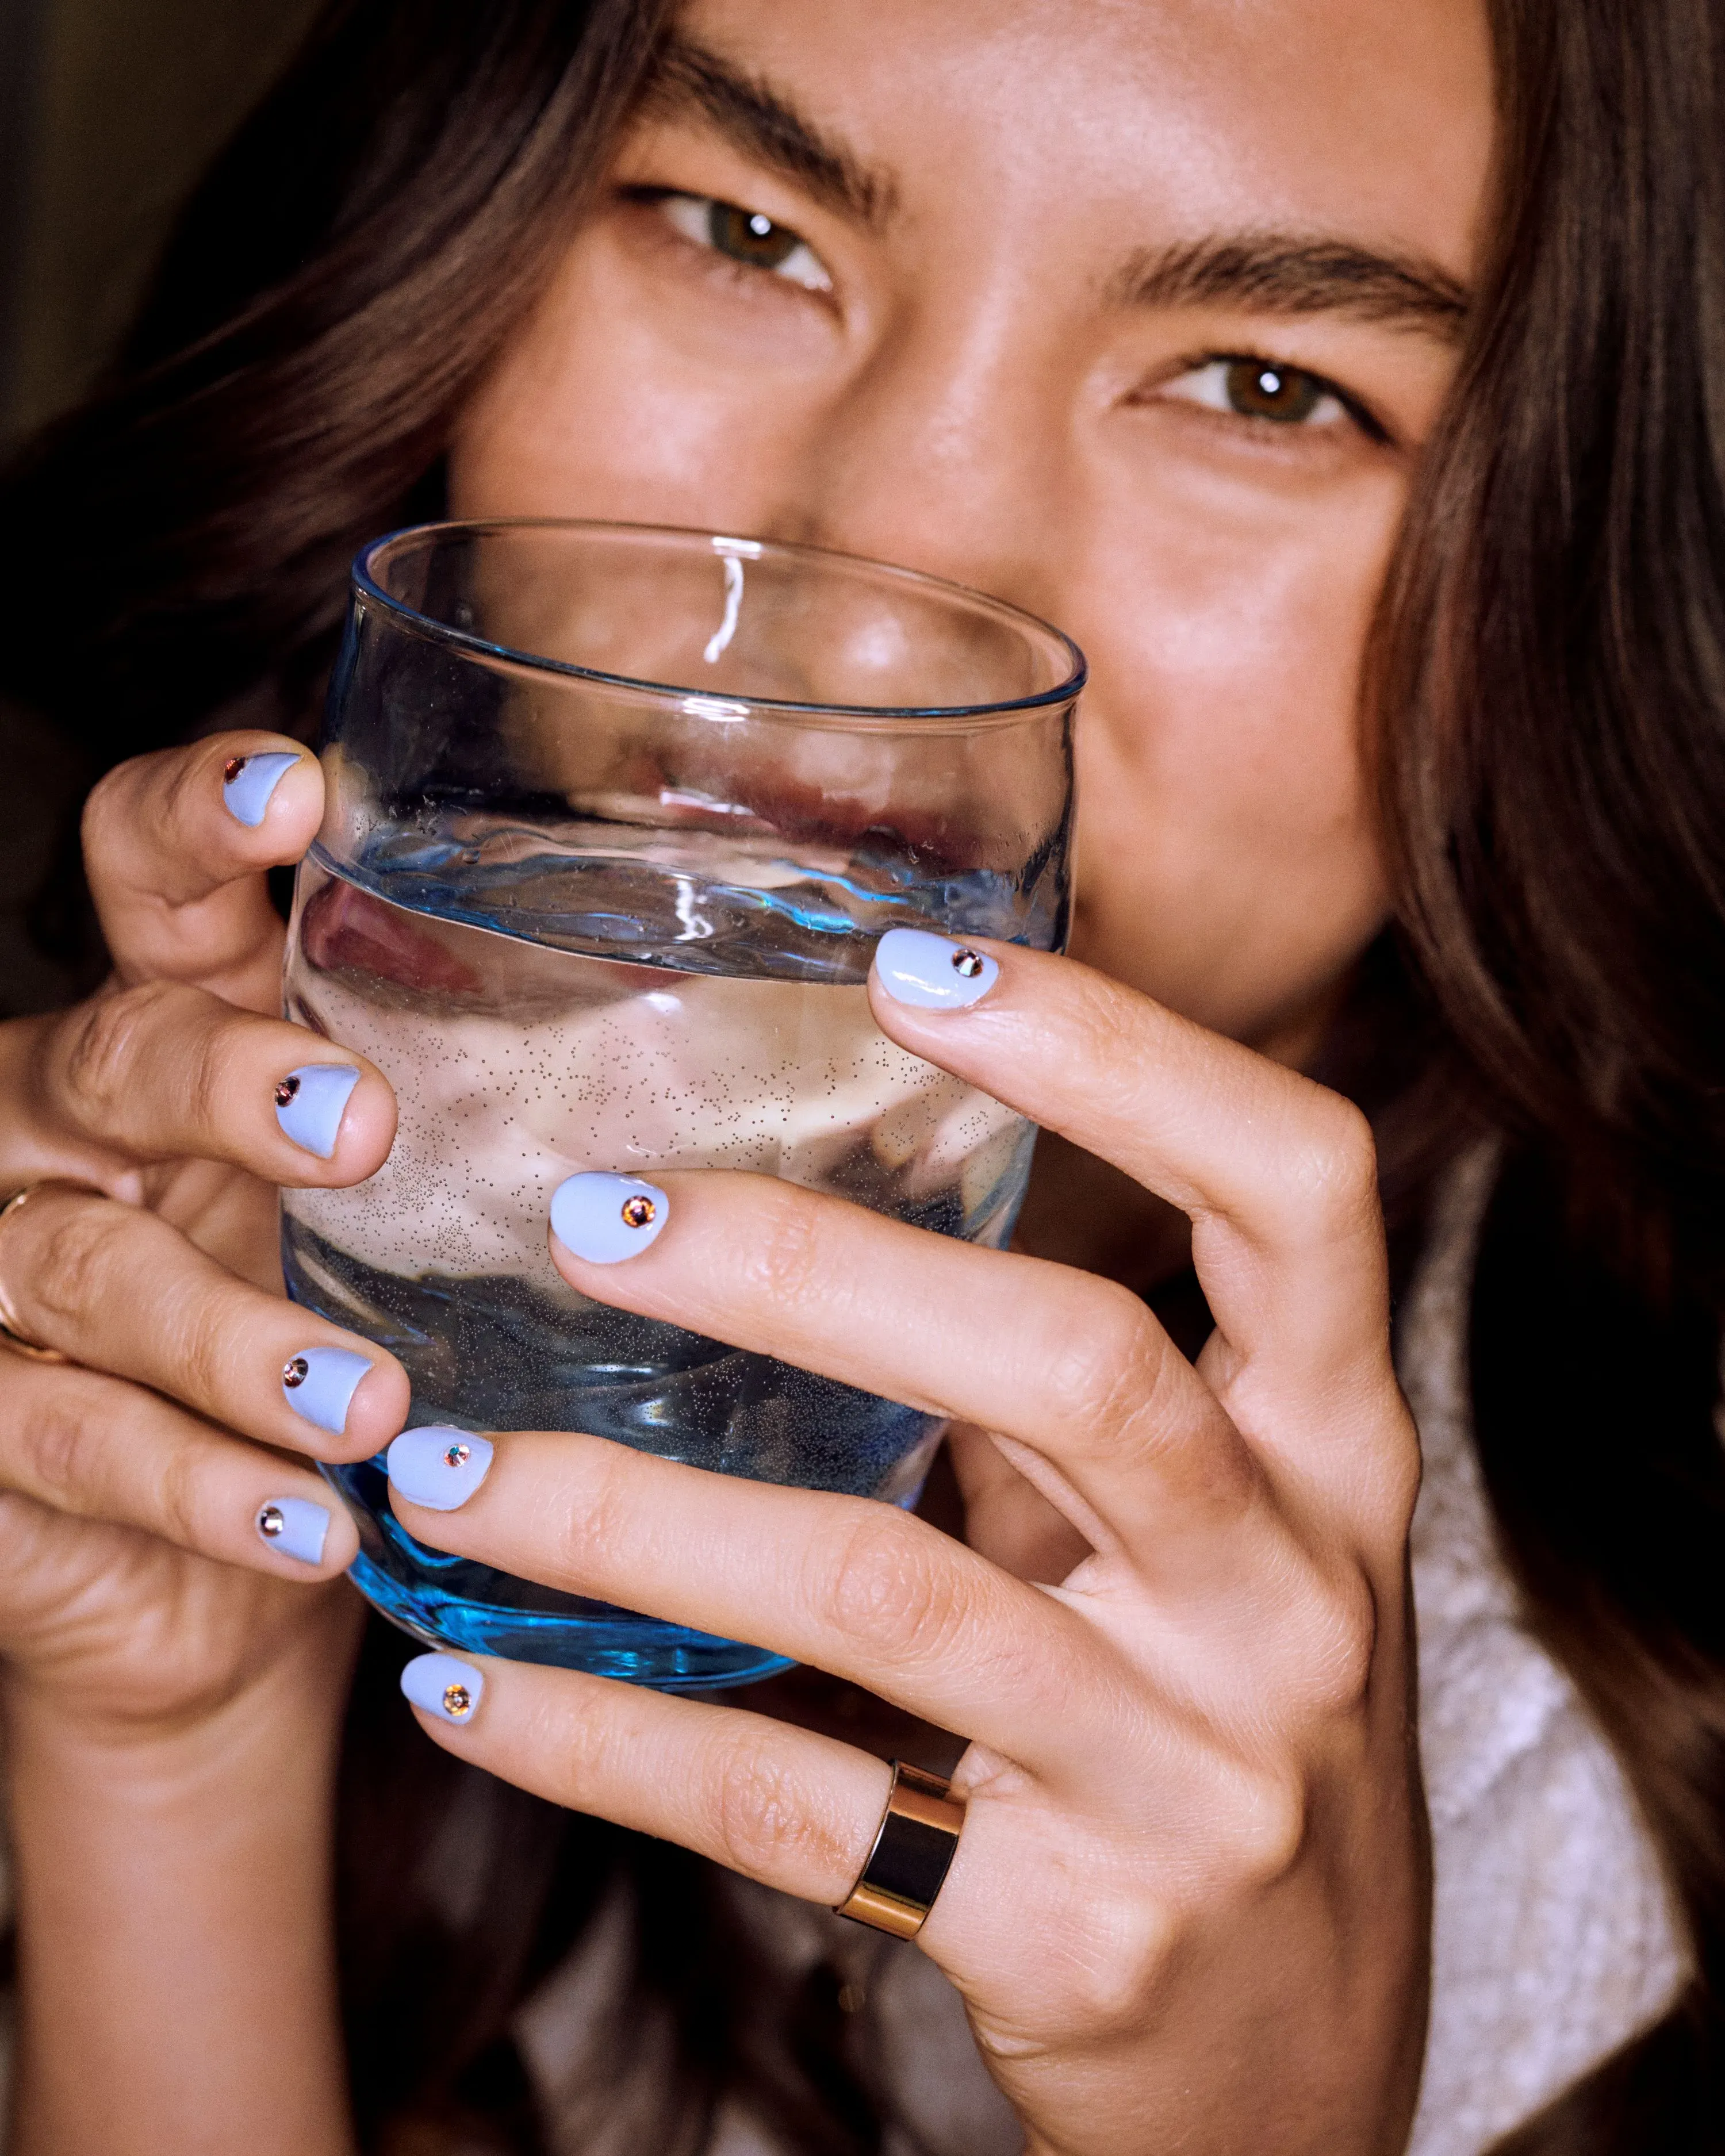
- Keep Nails at a Practical Length: Long nails can be fun, but they’re also more likely to chip or break from accidental knocks. If you’re struggling with chips, you might opt for a slightly shorter nail length or a rounded/oval shape, which has fewer sharp corners to catch on things. A shorter, gently rounded nail experiences less leverage and impact in daily use, which can reduce chipping. Pointy or very long nails tend to be more vulnerable to snapping or chipping. Maintaining a moderate length will also make your manicure maintenance easier.
- Avoid Using Nails as Tools: This sounds obvious, but it’s worth the reminder – your nails are not meant to pry open cans, scrape off labels, or untie knots. Using your nails in place of a tool puts a lot of stress on the polish and the nail itself. One wrong move can lead to a big chip or even a painful break. Be conscious of how you use your hands. You can use a coin or an actual tool to open a soda can, not your thumbnail. Preserving your nail surface in day-to-day tasks goes a long way toward a lasting manicure.
By focusing on nail health, you’re building a strong foundation. Strong nails, coupled with proper technique, will significantly cut down on how often your polish chips.
Ready to book your next appointment?
Book NowPrep Your Nails Properly Before Polishing
Old polish, oils, or dirt on the nail surface will prevent your new polish from sticking well. Always remove any old nail polish completely using a gentle remover. Even if your nails are bare, it’s wise to cleanse them before painting. Wash your hands with soap and water, and dry them thoroughly. For extra insurance, swipe each nail with a bit of rubbing alcohol on a cotton pad to eliminate any natural oils. Celebrity nail artists stress that cleansing the nail with alcohol removes excess oil and lint, helping the polish adhere better and last longer. Avoid touching your hair, face, or any oily surfaces after you’ve prepped and cleaned your nails. Handle only your clean tools and polish bottles until you finish painting.
A smooth edge is less likely to catch and chip. File in one direction to prevent splitting. If your nails have ridges, you can lightly buff the surface with a fine-grit buffer. Don’t over-buff – you just want to remove gentle bumps, not thin out your nails. A smooth, even nail surface helps polish apply evenly and cling better. Also, push back your cuticles gently with a wooden stick or cuticle pusher. Excess cuticle on the nail plate can cause polish to lift at the base, so a neat cuticle line helps your manicure last.
Soak your fingertips briefly before a manicure. Nails are porous and will absorb water, expanding slightly. If you paint them while they’re waterlogged, they’ll shrink back as they dry, and your polish may crack or chip. In fact, experts advise against soaking nails in water for more than a few minutes before polishing. An alternative is to use a cuticle softening cream or oil instead of a water soak. The key is to have your nails completely dry and dehydrated (oil-free) before you start applying any polish. Wipe them with alcohol after any soaking or cuticle treatment to ensure no residue remains.
Never skip the base coat if you want a long-wearing manicure. A quality base coat serves multiple purposes: it creates a slightly tacky surface that colored polish can grip, it protects your natural nails from staining, and it often contains nutrients or strengthening ingredients to support your nails. Paint a thin layer of base coat on each nail and let it dry for a minute. This base layer is like double-sided tape for your polish, as it bonds to your nail and grabs the color. Skipping base coat is a common culprit for premature chipping, especially with strong colors or older polishes that don’t flex well. Give your base coat a moment to set before moving on to color.
How to Maintain a Manicure at Home
Now, the way you treat your hands in the following days will determine whether your manicure truly goes the distance. Wondering how to maintain a manicure at home so it stays glossy and chip-free? It comes down to consistent care and being a little mindful of your nails during daily activities.
- Reapply Top Coat Every Few Days: One of the easiest ways to extend the life of your manicure is to refresh the top coat periodically. Every 2-3 days, brush on a thin layer of clear top coat over your nails. This restores shine and reinforces the protective seal on your polish.
- Wear Gloves for Chores: Water and chemicals are the enemies of fresh polish. Whenever you’re doing household chores that involve getting your hands wet or using cleaning agents, put on a pair of rubber or latex gloves. Protecting your manicure from harsh cleaning liquids and excessive water will hugely prevent chipping. Cleansers and soaps can dry out your nails, and water can weaken the polish bond.
- Avoid Excessive Soaking: Beyond just cleaning, any prolonged water exposure can shorten your manicure’s lifespan. Long baths, hot tubs, doing dishes without gloves, or swimming for hours. As it dries and contracts, the movement can cause your polish to crack or peel. While nails seem hard, they do take in water and change size, which leads to polish chipping as they go back and forth. To maintain your mani, try to keep long soaks to a minimum. When you do indulge in a bath or go swimming, just be gentle with your nails afterward. Pat them dry and maybe add a layer of top coat that evening to reinforce everything.
- Keep Nails Moisturized: Dry nails and cuticles not only look ragged, but they also make your polish job more prone to chipping. Apply cuticle oil around your nails each night or at least a few times a week. Rub a bit of hand lotion over your nails after washing your hands.
By incorporating these habits into your nail care routine, you’ll significantly prolong the life of your manicure. Your at-home maintenance is just as important as the initial application.
The Professional Manicure Service Advantage
While DIY techniques can vastly improve your manicure’s longevity, sometimes you might want to enlist the help of a professional for that extra edge. Visiting a salon can ensure expert techniques, durable products, and meticulous application, resulting in a manicure that lasts and lasts. Professional nail technicians have training and experience that’s hard to beat at home. They often use specialized products like salon-grade base and top coats, LED/UV-cured polishes (gel polish or dip powder), and techniques that increase wear time. For example, a salon gel manicure can remain chip-free for about 2 weeks, and a dip powder manicure can last even longer. If you have a special occasion or a stretch of time where you absolutely need your nails to look perfect with no chipping, a professional gel or dip manicure might be worth it for the added longevity. The trade-off is the removal process, but the wear time is significantly enhanced. Even for regular polish, a nail tech’s careful prep and application under those steady hands and keen eyes can often outlast a hasty at-home job.
If you don’t have the time to head to a salon, you’re in luck. There are services that bring the manicure to your home. Glamsquad, for example, is an at-home nail service that functions like a mobile nail salon, sending a professional to your door. With this kind of convenient setup, you can simply book a manicure session and have a certified technician show up at your preferred time.
The pro will have all the tools and high-quality polishes needed, and you can enjoy a salon-quality in-home manicure without leaving home. This is a fantastic option for busy individuals or those who prefer the comfort of home. Plus, the mobile nail technician can also fix any major breaks or issues you might not feel comfortable addressing on your own.
A lasting, chip-free manicure is absolutely achievable with the right approach. It’s a combination of starting with healthy nails, mastering the polish application, and maintaining your mani with a little TLC. By following the tips to prevent chipped nails outlined above, you can significantly extend the life of your manicure. Even if you do get the occasional chip, you now know how to seal nail polish and patch up minor flaws to keep your nails looking great. The next time you give yourself a manicure, you’ll be equipped with the knowledge to make it last.
Sources:
- Allure – Quick expert tip on patching a chipped manicure with polish and topcoat.
- Fashionista – Nail expert Jin Soon Choi on weak nails and improper application causing chips.
- Byrdie – Importance of washing nails and using alcohol (not acetone) to prep nails for better polish adhesion.
- Real Simple – Advice to “cap” the nail’s free edge with polish to seal it and prevent chipping.
- Vogue India – Recommendation to wear gloves and avoid over-washing, as water and harsh cleaners can dry out nails and cause polish to chip.